How to make a 2D game effect and get it into your engine
Draw the shape, layer particles on top, set the timing, export. This guide covers the whole path — including the parts that usually go wrong at export time.
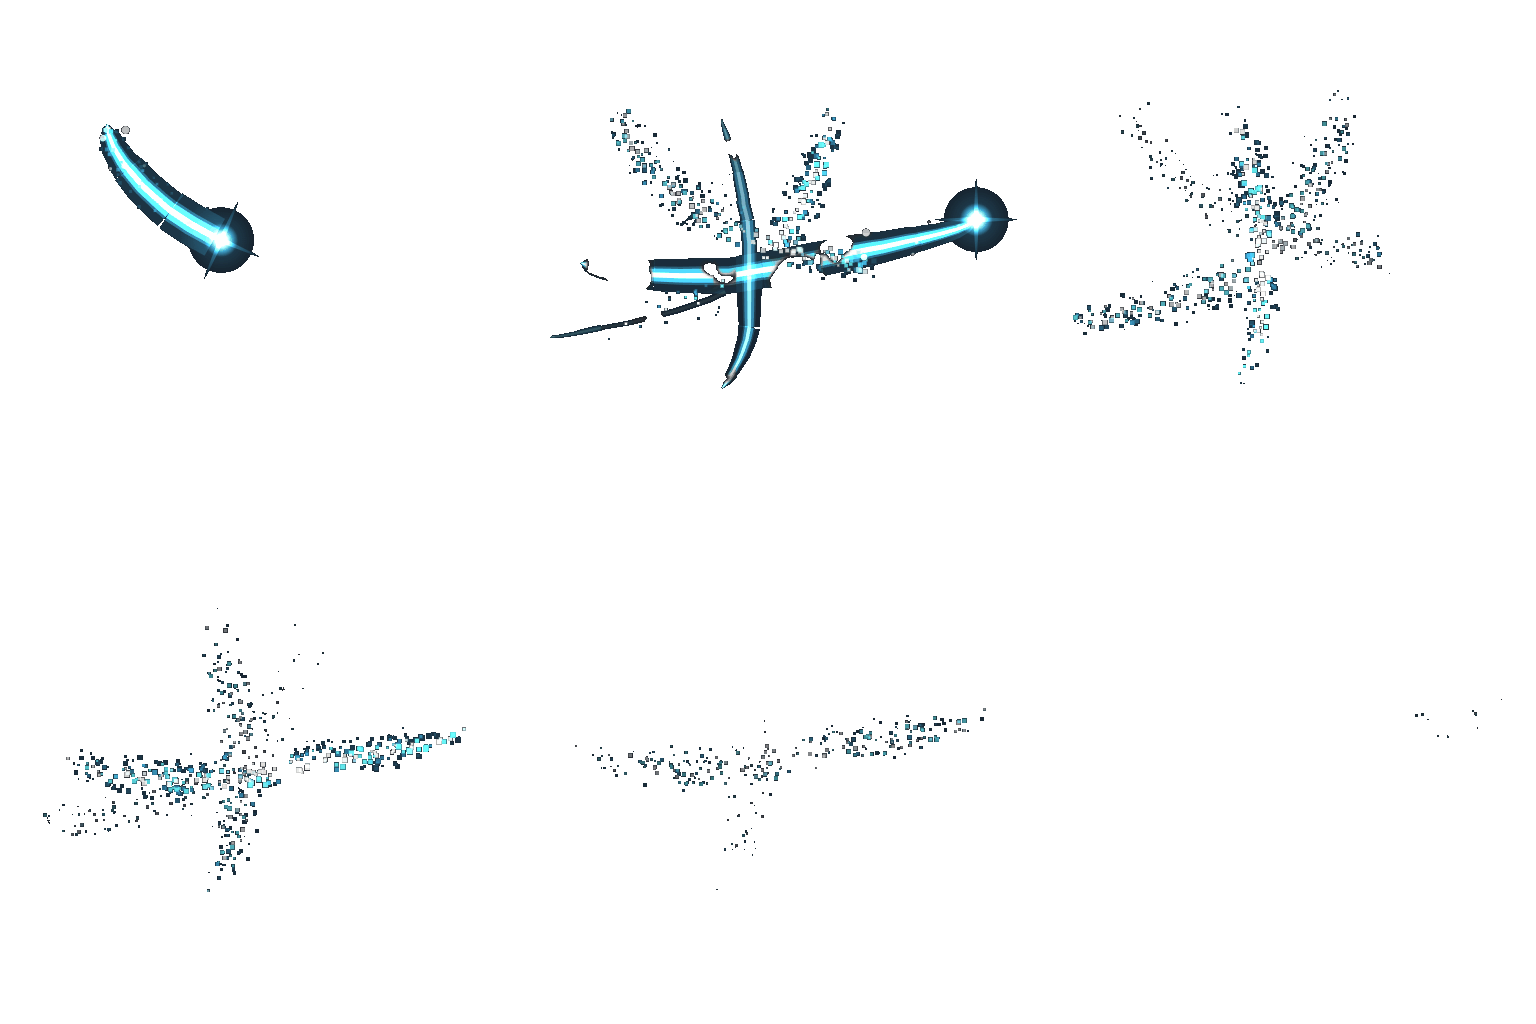
1. Draw the shape first, not the details
Almost every attack effect starts as one confident stroke. Draw the arc the weapon travels along and nothing else. If the arc reads clearly in a single frame, the finished effect will read clearly in motion; if it doesn't, no amount of particles will save it.
- One stroke beats three. A slash drawn in one motion has a natural taper. Three overlapping strokes look like scribble once they're glowing.
- Curve it. A straight line reads as a laser. An arc reads as a swing.
- Leave room at the edges. Glow spreads outward. If the stroke touches the canvas edge, the glow gets clipped and you'll see a hard straight cut in the exported frames.
2. Particles are seasoning, not the meal
Add sparks along the stroke, and one flash at the point of contact. That's usually enough. The most common mistake is emitting particles everywhere at once, which turns a readable slash into visual noise.
For continuous effects — rain, embers, an aura that loops forever — the particle count means
something different than for a one-shot burst. In a burst, the count is the total number of
particles emitted. In a looping effect, it's how many are alive on screen at any moment, and
the emission rate works out to count ÷ average lifetime. A looping effect also
needs a few dozen frames of warm-up, otherwise frame 0 is an empty screen.
3. Timing: fast in, slow out
Most attack effects read best at 12 to 20 frames. Anything longer starts to feel floaty unless it's a charge-up or a lingering burn.
- The strike itself should take 2–3 frames. It's supposed to feel instant.
- The dissipation can take 8–15. That's where the weight comes from.
- Impact effects want a 1-frame white flash at the very start. It reads as force even when the viewer never consciously sees that frame.
4. Which export format?
This is where most of the real decisions are. The three formats are not interchangeable.
| Format | Use it when | Watch out for |
|---|---|---|
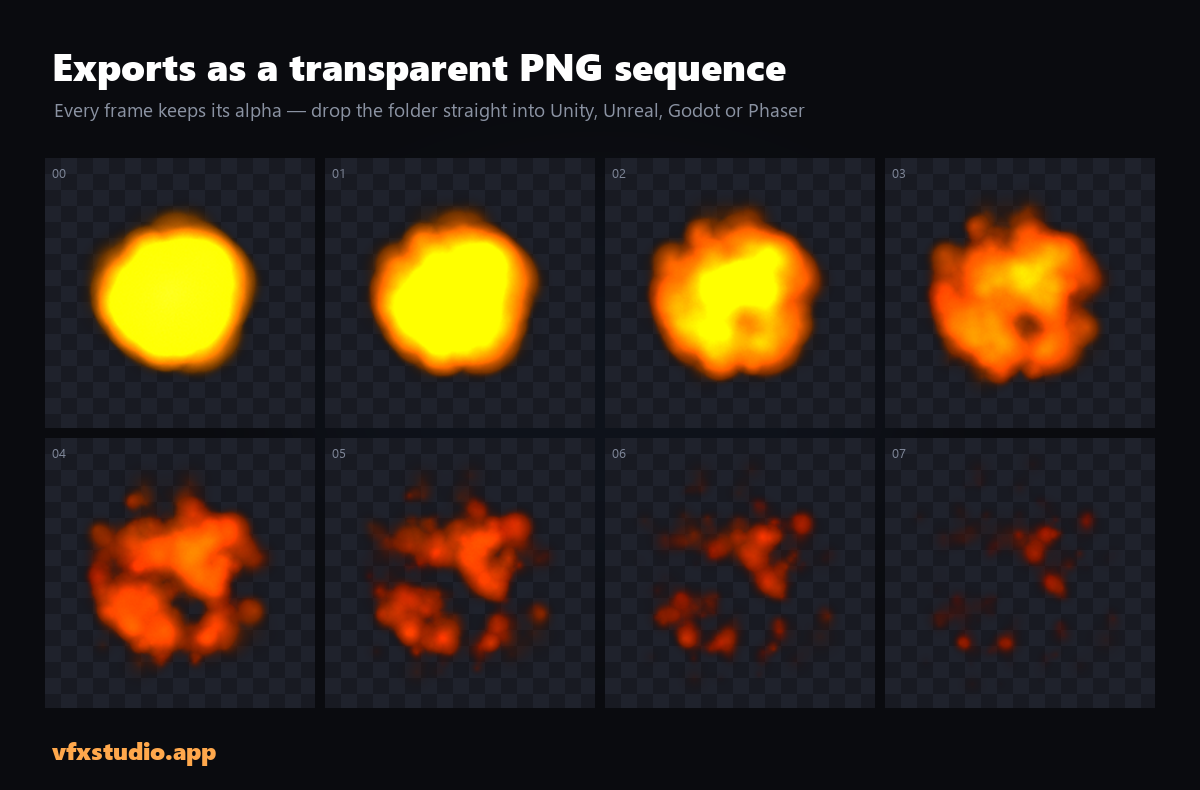
| PNG sequence | You want the best quality, or the effect has soft edges, smoke or fog. This is the only format with real per-pixel transparency. | Many files. Most engines want them packed into a sheet anyway. |
| Sprite sheet | You're importing into an engine. One texture, one draw call, and every engine has a built-in way to play it. | Texture compression (DXT/BC/ASTC) wants power-of-two dimensions — pad the sheet if you're going to compress it. |
| Animated GIF | You're showing the effect to someone — a post, a devlog, a Discord message. Not for shipping in a game. | No semi-transparency at all. See the warning below. |
The fix is to bake: compute what each semi-transparent pixel looks like against a chosen background (
rgb × a + bg × (1 − a)) and store that as a solid colour, while
keeping pixels below a low alpha threshold fully transparent. You get the soft gradient back,
and the GIF background stays transparent. If you need genuinely semi-transparent output,
you need a PNG sequence — there is no GIF workaround.
5. Getting it into the engine
Unity
For a flat 2D animation, import the sheet, set Sprite Mode: Multiple, slice it in the
Sprite Editor by cell size, and drag the resulting frames onto an Animator.
For a particle-driven effect, use the Particle System instead: assign the sheet to a material with the Particles/Standard Unlit shader, then enable Texture Sheet Animation on the emitter and set Tiles X/Y to your grid. Set the material's blend mode to Additive for anything glowing, and Alpha Blended for smoke and debris.
Unreal Engine
Import the sheet, then in Niagara add a SubUV Animation module to the emitter
and set the sub-image count to match your grid. In the material, use the
SubUV_Function node — feeding the texture in directly will show the whole sheet on
every particle instead of one frame at a time.
Godot
For 2D, the fastest route is AnimatedSprite2D: create a
SpriteFrames resource, add the sheet, and set the horizontal/vertical cell counts.
For particles, GPUParticles2D with Particles Animation enabled in the
CanvasItemMaterial, with H Frames and V Frames matching the grid.
In 3D, use GPUParticles3D with a StandardMaterial3D set to
Billboard: Particle Billboard and Particles Anim enabled.
Phaser
Load the sheet with this.load.spritesheet(key, url, { frameWidth, frameHeight }),
then create an animation with this.anims.create({ key, frames, frameRate, repeat }).
If you export a TexturePacker-style JSON alongside the sheet, use
this.load.atlas() instead and the frame names come across automatically.
6. Two problems that will bite you
Black fringes around a transparent export
If your effect has a dark halo against a light background, the cause is that fully transparent pixels still carry an RGB value, and in a canvas export that value is usually pure black. When the engine filters the texture it blends those black pixels inward.
The fix is alpha bleeding: before quantising or saving, flood the RGB of transparent pixels outward from the nearest solid pixel. The alpha stays zero, so nothing looks different — but filtering now blends toward the right colour.
The effect looks different at a different canvas size
Glow radius, particle size and stroke width are usually authored in pixels. Export at 2× and everything scales — but if any part of the pipeline is authored in absolute pixels while the rest scales, you get a mismatch that's very hard to spot by eye. Export a test frame at 1× and 2×, scale one to match the other, and compare them directly.
Make one now → VFX Studio runs in your browser. No install, no subscription. Free to use — credits are only needed when you export.